DIY Longboard from Scratch
Craft your own unique longboard, adding your personal touch to every little detail! If you're looking to try a DIY project, why not build your very own longboard? This simple and enjoyable “just for fun” project comes with a detailed, step-by-step guide to help you through the building process using parts you can find at any hardware store near you.

Difficulté
Moyen
Durée
8 heure(s)
Catégories
Sport & Extérieur
Coût
120 USD ($)
Introduction
You'll love customizing your board with grip tape, choosing your favorite colorful wheels, and assembling the skateboard truck, which can be a bit challenging but is definitely doable!
This longboard measures 13" wide, 34" long, and 6" high. Further details can be found in the free 3D design. For a professional look, consider painting the skateboard truck, or simply leave it with the handmade look, which also looks incredible!
Recommended for ages 14 and up, make sure to wear protective gear, especially if you're new to skateboarding. Get ready to embark on this exciting DIY adventure that will have you cruising in style! Let's roll!
A note before starting -
Please note that the diagrams below are carefully crafted to assist you in navigating the build process. However, we do not provide specific recommendations for tools, hardware, or products to use. These designs are truly intended for DIY enthusiasts.
As such, a significant part of the building process will be left to your discretion. There is no "right" or "wrong" way to assemble any of our designs! If you need to deviate from the instructions or make adjustments along the way, please feel free to do so.
The only request we have is for your safety: please use goggles and gloves while building. Additionally, don't hesitate to ask an expert for assistance or seek guidance from local professionals at any point.
Above all, enjoy the process!Youtube

Matériaux
- 1 Skateboard Wood - Lumber
- 2 Wheels Skateboard Accessory - Mixed
- Bearings 608zz
- MBS All-terrain skateboard wheel
- 4-way outlet galvanized steel 1/2"
- Nipple galvanized steel 1/2"-3"inch
- Sandpaper tape skateboard
- Maple skate board
- 6° Wedge risers
- Steel Brackets
- Threaded Rods 5/16" x 12" inch
- Nipple galvanized steel 1/2"-1"inch
- INOX Allen Bolt 1/4" x 1.5" inch
- 12- Nut 5/16" inch
Outils
Étape 1 - Get Your Materials and Board Ready
Before you start putting together your longboard, you'll need to do some cutting and drilling. Begin by cutting your threaded rods into two pieces, each 8 inches long. Use a fret file to smooth out the rods, which are 5/16" x 12" inches in size.
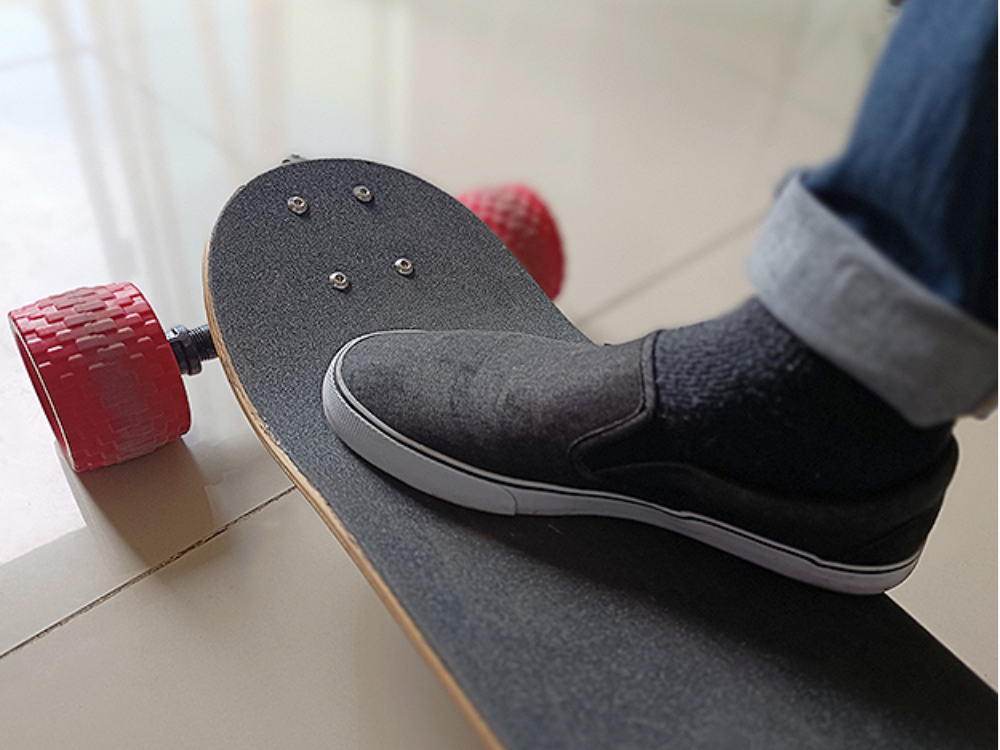
Next, apply grip tape to the board. Cut the grip tape to be about one centimeter wider than the board, then press it onto the board and trim off any excess.
With your 6º wedge riser, mark where you'll drill to attach the INOX Allen bolts, which are 1/4" x 1.5" in size. Ensure the marks are centered on the ends of your board.
Safety is crucial, so wear gloves and safety glasses during this process. Carefully drill four holes, making sure they are clean and precise. We used a 3D-printed part to help us drill the holes in the cap perfectly centered. If you'd like access to the design for this part, please let us know, and we'll share it with you.
Finally, position the drill in the middle of your 1" cap and drill each hole carefully. The 1" cap should have a similar appearance to the one shown in the image.


Étape 2 - Building the Longboard's Truck
Let's now assemble the skateboard truck for the wheels. Please keep all parts within reach to prevent any confusion. For this step, gather the following materials:
- ½” - 1” Galvanized Steel Nipples
- 6º Wedge Risers
- Steel Brackets
- ¼” x 1.5” INOX Allen Bolts
- ⅜” INOX Flat Washers
- Skateboard Rubber Bushings
- 5/16” Nuts
Start by taking the drilled 1" cap and inserting a 3/8 " x 1 3/4 " INOX Allen Bolt through the hole, followed by an INOX Flat Washer 3/8'' x 3/8'' and a skateboard rubber bushing. Repeat this process four times.
Next, take your steel brackets and attach the assembled parts, ensuring the bracket is facing downward. Add another bushing, then a flat washer, and finally secure it with a nut. Repeat this step twice.
Now, assemble the 3-Way and 2” nipples. Attach two nipples to each 3-Way. Then, attach two of the previously assembled parts. Be careful not to tighten the parts too much; leave the cap slightly loose.
Attach this assembly to the cap attached to the bracket. Carefully tighten both caps simultaneously. Refer closely to the video for guidance, and then tighten the nuts securely.
Attach 4 1/2 " - 3" Galvanized Steel Nipples to the sides of the 3-Way, with the drill cap at the end.
Insert the threaded rod 5/16" x 12" inches, ensuring it's even on both sides, and then tighten the 5/16" nuts.


Étape 3 - Let’s Put Together The Longboard Wheels
Let's turn our attention to the wheels. Begin by inserting the 608zz bearings, followed by the bearing spacers, and then the 5/16" nuts. Press them down firmly to ensure they are securely in place. Use the threaded rod to align them perfectly in the middle. Once all four wheels are prepared, attach them to the truck.
Next, attach the riser and truck to the wooden board, and tighten the truck nuts. Your longboard should have a similar level of flexibility to mine. Finally, tighten the Kingpin.
Your longboard should look like this:


Notes et références
You can access the free 3D design and Video Tutorial at Crafty Amigo.
Draft
 Français
 English
 Deutsch
 Español
 Italiano
 Português